
No Churn Vanilla Ice Cream Bars – the Viral Recipe You Need This Summer
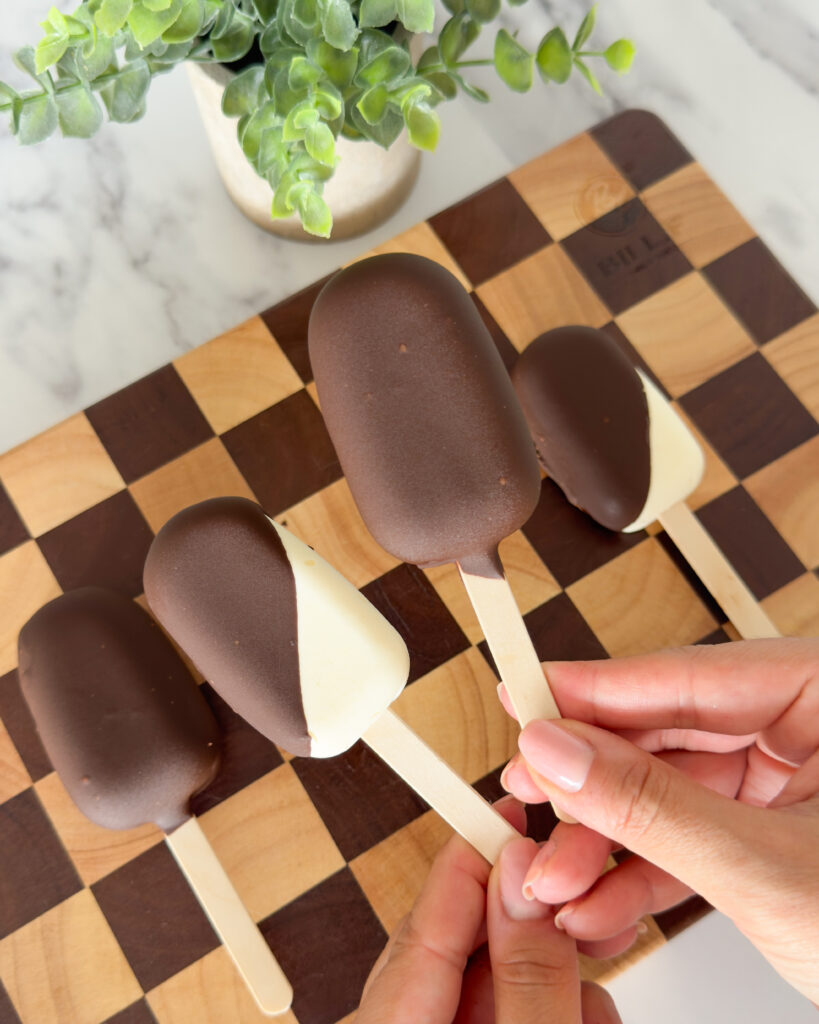
Can we talk about no churn ice cream for a second? Because I genuinely cannot believe it took me this long to get on board. Three ingredients, no ice cream machine, no churning – just the creamiest, most scoopable vanilla ice cream you’ve ever made, set in cakesicle moulds and dipped in dark chocolate for a result that looks like something from a very good ice cream shop and costs a fraction of the price. This is the recipe that has been all over my feed this year, and for very good reason. The base is as simple as it gets — double cream, sweetened condensed milk, and vanilla — but the result is rich, smooth, and genuinely impressive. Set it in ice cream bar moulds, freeze until solid, unmould, dip in dark chocolate, and you’re done. The chocolate sets almost immediately on contact with the frozen ice cream, giving you that satisfying snap with every bite. The best part? They keep in the freezer for weeks, which means you can make a batch on a Sunday and pull one out whenever you need it. Summer sorted. Why No Churn Ice Cream Actually Works Traditional ice cream needs churning to break up ice crystals as it freezes, which is what gives it that smooth, creamy texture. No churn ice cream gets around this entirely by using whipped double cream and sweetened condensed milk — the whipped cream adds air and lightness, while the condensed milk provides sweetness and a high sugar content that prevents large ice crystals from forming. The result is scoopable, creamy, and smooth without a machine in sight. It is also, frankly, one of the most versatile base recipes you’ll find. The vanilla version is the classic starting point, but once you’ve made it once you’ll start seeing flavour possibilities everywhere. More on that below. Why Set Them in Ice Cream Bar Moulds? Cakesicle moulds — the oval, bar-shaped moulds designed for cake pops — are the secret weapon here. They give you that classic ice cream bar shape, make the dipping step infinitely easier than trying to dip a scoop, and mean every portion is perfectly sized. No slicing, no mess, no uneven scoops. The moulds come out of the freezer, the bars pop out cleanly after a couple of hours, and from there it’s just a straight dip in melted dark chocolate and back into the freezer to set. The whole process from start to finish is about 15 minutes of actual hands-on time. The freezer does the rest. On the Chocolate I use dark chocolate from The Cake Decorating Company for dipping — it melts smoothly, sets with a clean snap, and has a deep, slightly bitter flavour that cuts through the sweetness of the ice cream beautifully. Good quality chocolate really does make a difference here, because it’s the only other flavour in the recipe. Don’t use chocolate chips if you can avoid it — they’re designed not to melt fully and the coating won’t be as smooth. Melt the chocolate slowly in a bowl set over barely simmering water, or in the microwave in 20-second bursts, stirring between each one. Let it cool slightly before dipping — chocolate that’s too hot will melt the surface of the ice cream bar before it has a chance to set. No Churn Vanilla Ice Cream Bars Makes 6–8 bars · Prep: 15 mins · Freeze: 1.5–2 hours Ingredients 300ml double cream, cold ½ can (approximately 200g) sweetened condensed milk 1 tsp vanilla extract Good quality dark chocolate, for dipping Equipment Cakesicle moulds (oval bar-shaped moulds) Ice lolly sticks or cakesicle sticks Piping bag or spoon for filling Method The Ice Cream Base Pour the cold double cream into a large bowl or stand mixer fitted with the whisk attachment. Whip on medium-high speed until soft peaks form — the cream should hold its shape but still have a slight wobble. Don’t take it to stiff peaks or the texture will be too dense. Add the sweetened condensed milk and vanilla extract. Fold together gently with a spatula until just combined and no streaks remain. Be careful not to knock the air out — this is what keeps the ice cream light and creamy. Filling the Moulds Spoon or pipe the ice cream mixture into the cakesicle moulds, filling each one to the top. Tap the moulds gently on the worktop to remove any air bubbles and smooth the surface with a small palette knife or the back of a spoon. Insert a cakesicle or ice lolly stick into each one, pressing down gently until it sits in the centre of the bar. Place the moulds on a flat tray and transfer to the freezer. Freeze for a minimum of 1.5 hours — 2 hours is ideal for a fully set bar that unmoulds cleanly. Unmoulding and Dipping Remove the moulds from the freezer. Gently flex the mould to release each bar, then pull out by the stick. Work quickly — the bars will start to soften as soon as they leave the freezer. Melt the dark chocolate slowly in a heatproof bowl over barely simmering water, or in the microwave in 20-second bursts, stirring between each one. Allow to cool slightly. Pour the melted chocolate into a deep, narrow container — a tall glass or a deep mug works well. Dip each ice cream bar into the chocolate, allow the excess to drip off for a few seconds, then place on a lined tray. The chocolate will set almost immediately on contact with the frozen bar. Return to the freezer for 10 minutes to firm up fully before serving or storing. Notes & Tips Cold cream whips faster and gives you a better texture — take it straight from the fridge and don’t let it sit out before whipping. Don’t overmix once the condensed milk is added. Fold gently and stop as soon as it’s combined — overmixing deflates the cream and gives you