
The Ultimate Guide to Royal Icing:
Recipes, Consistencies & Tips
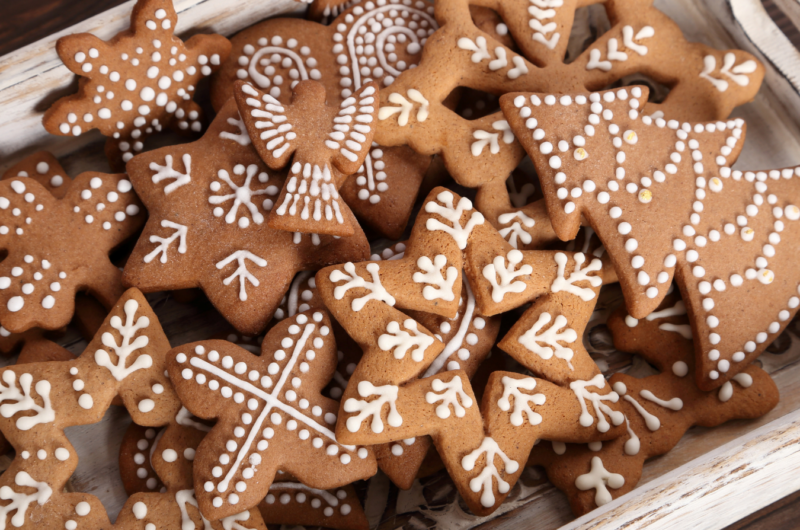
Royal icing is the go-to for decorating biscuits and cakes, providing a smooth, hard finish that’s ideal for intricate designs. Whether you’re outlining, flooding, or adding delicate details, mastering royal icing consistencies will make decorating easy and enjoyable. Here’s a step-by-step guide to perfecting royal icing, along with tips for achieving different textures.
Ingredients
500g icing sugar, sifted
3 egg whites (pasteurised if possible)
½ tsp lemon juice or a splash of water
Directions
- Combine Ingredients: In a large bowl, sift the icing sugar to remove any lumps. Add the egg whites and lemon juice or water.
- Mix: Using a hand mixer or stand mixer, mix on low speed until combined. Then, turn up to medium-high speed and beat for about 5 minutes, or until the mixture forms stiff peaks. Your royal icing should hold its shape and be bright white.
- Adjust Consistency: Once your icing is at a stiff consistency, it’s ready to be adjusted for different uses. Below, I’ll guide you through the various consistencies, so you’ll know exactly how to use each one.
Royal Icing Consistencies
1. Stiff Consistency (for Writing and Details)
Stiff consistency is the starting point for royal icing. This is perfect for intricate detailing, like adding fine lines, monograms, or writing on cakes.
- To check: Stiff icing should hold its shape without spreading or flattening. When you pull up the icing with a spoon, it should form peaks that don’t droop.
- Uses: Writing, piping flowers, and creating detailed designs that need to hold shape.
2. Piping Consistency (for Borders and Outlines)
Piping consistency is slightly thinner than stiff, making it ideal for outlining shapes on biscuits. This will help create clean edges for flooding.
- How to adjust: Add ½ tsp of water at a time to the stiff icing, mixing well after each addition, until you reach the desired texture.
- To check: Piping icing should hold a peak but will settle slightly when left alone. It should be smooth enough to pipe easily without breaking.
- Uses: Borders, outlines, and basic piping designs.
3. Flooding Consistency (for Filling Large Areas)
Flooding consistency allows you to fill larger areas with smooth, even icing that dries flat and glossy.
- How to adjust: Add 1 tsp of water to your piping icing and mix thoroughly. The ideal flooding consistency will form a ribbon that disappears back into the icing after about 10-15 seconds.
- To check: If you lift the icing with a spoon and let it fall back, it should flatten smoothly within seconds.
- Uses: Filling in large areas, like the base layer on biscuits or larger decorative shapes.
4. Medium Consistency (for Embellishments and Adding Texture)
Medium consistency is in-between piping and flooding, ideal for creating slightly raised textures without the icing spreading too much.
- How to adjust: Add ¼ to ½ tsp of water to piping icing and stir well.
- To check: Medium consistency should hold its shape for a few seconds but eventually settle slightly. It’s soft enough to spread, yet holds texture.
- Uses: Leaves, flowers, or decorative elements that need dimension without spreading flat.
Tips for Perfect Royal Icing
- Avoid Over-Mixing: Over-mixing can lead to air bubbles in the icing, which make decorating difficult. Once your icing reaches the right consistency, avoid excessive beating.
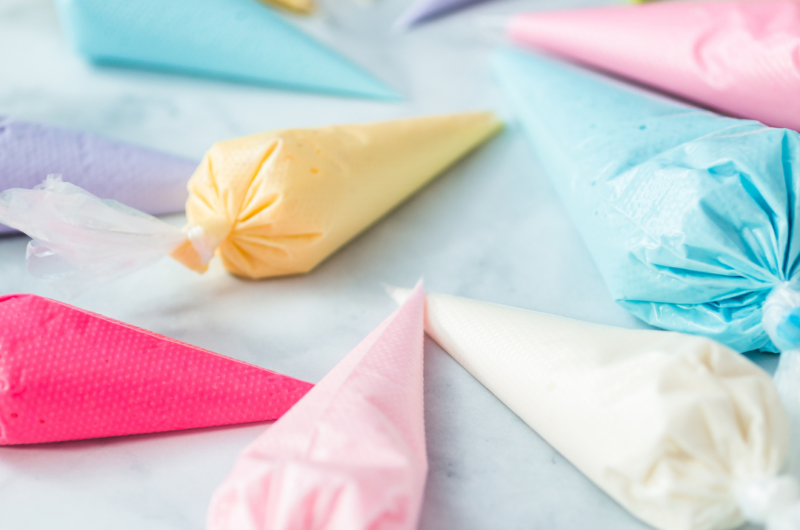
- Keep Icing Covered: Royal icing dries quickly. Cover your bowls and piping bags with cling film when not in use to keep it from crusting.
- Practice Piping: Before decorating your final biscuits, practice piping on a piece of parchment to get a feel for the consistency and flow.
- Test Consistency: If in doubt, test a small amount before adjusting further. Royal icing can be tricky to thicken once thinned, so add water gradually.
Storing Royal Icing
If you have leftover icing, transfer it to an airtight container and store it in the fridge. Royal icing can last up to 2 weeks when refrigerated. Before using it again, give it a gentle mix to restore the smoothness.
Now that you’ve got the basics down, you’re ready to get creative! With these tips and consistencies in mind, decorating with royal icing will feel much easier, and you’ll achieve a professional finish every time. Happy decorating!
