The Only Cinnamon Roll Recipe You Need

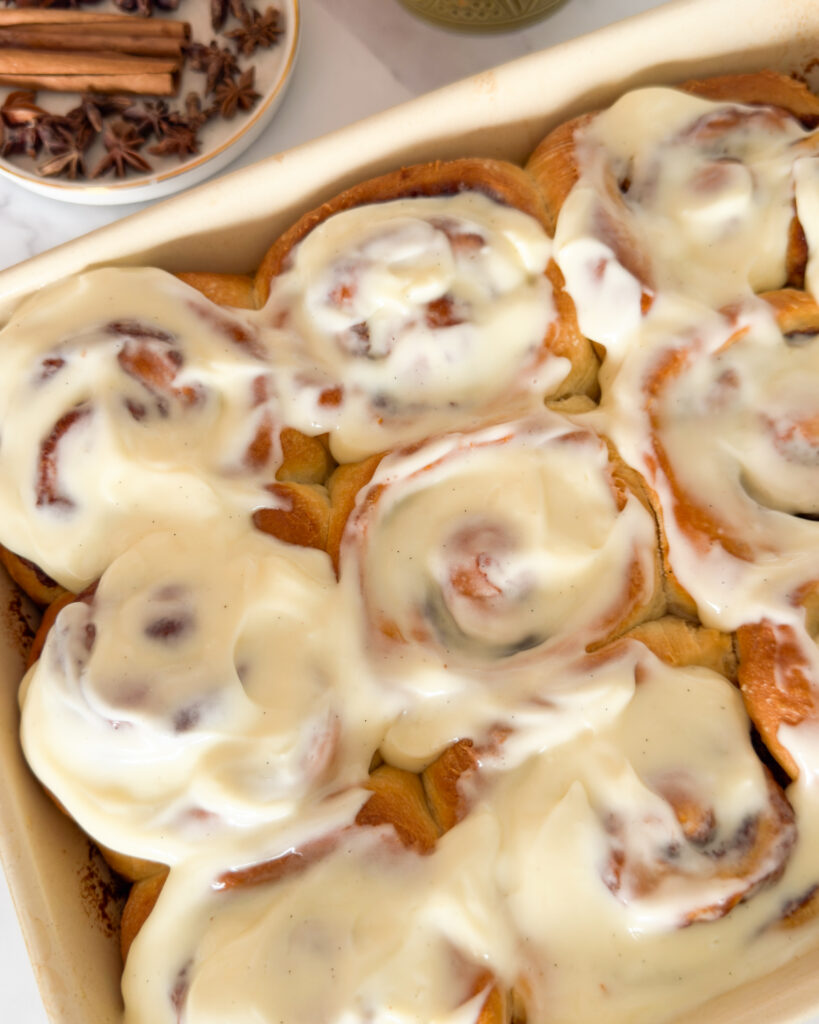
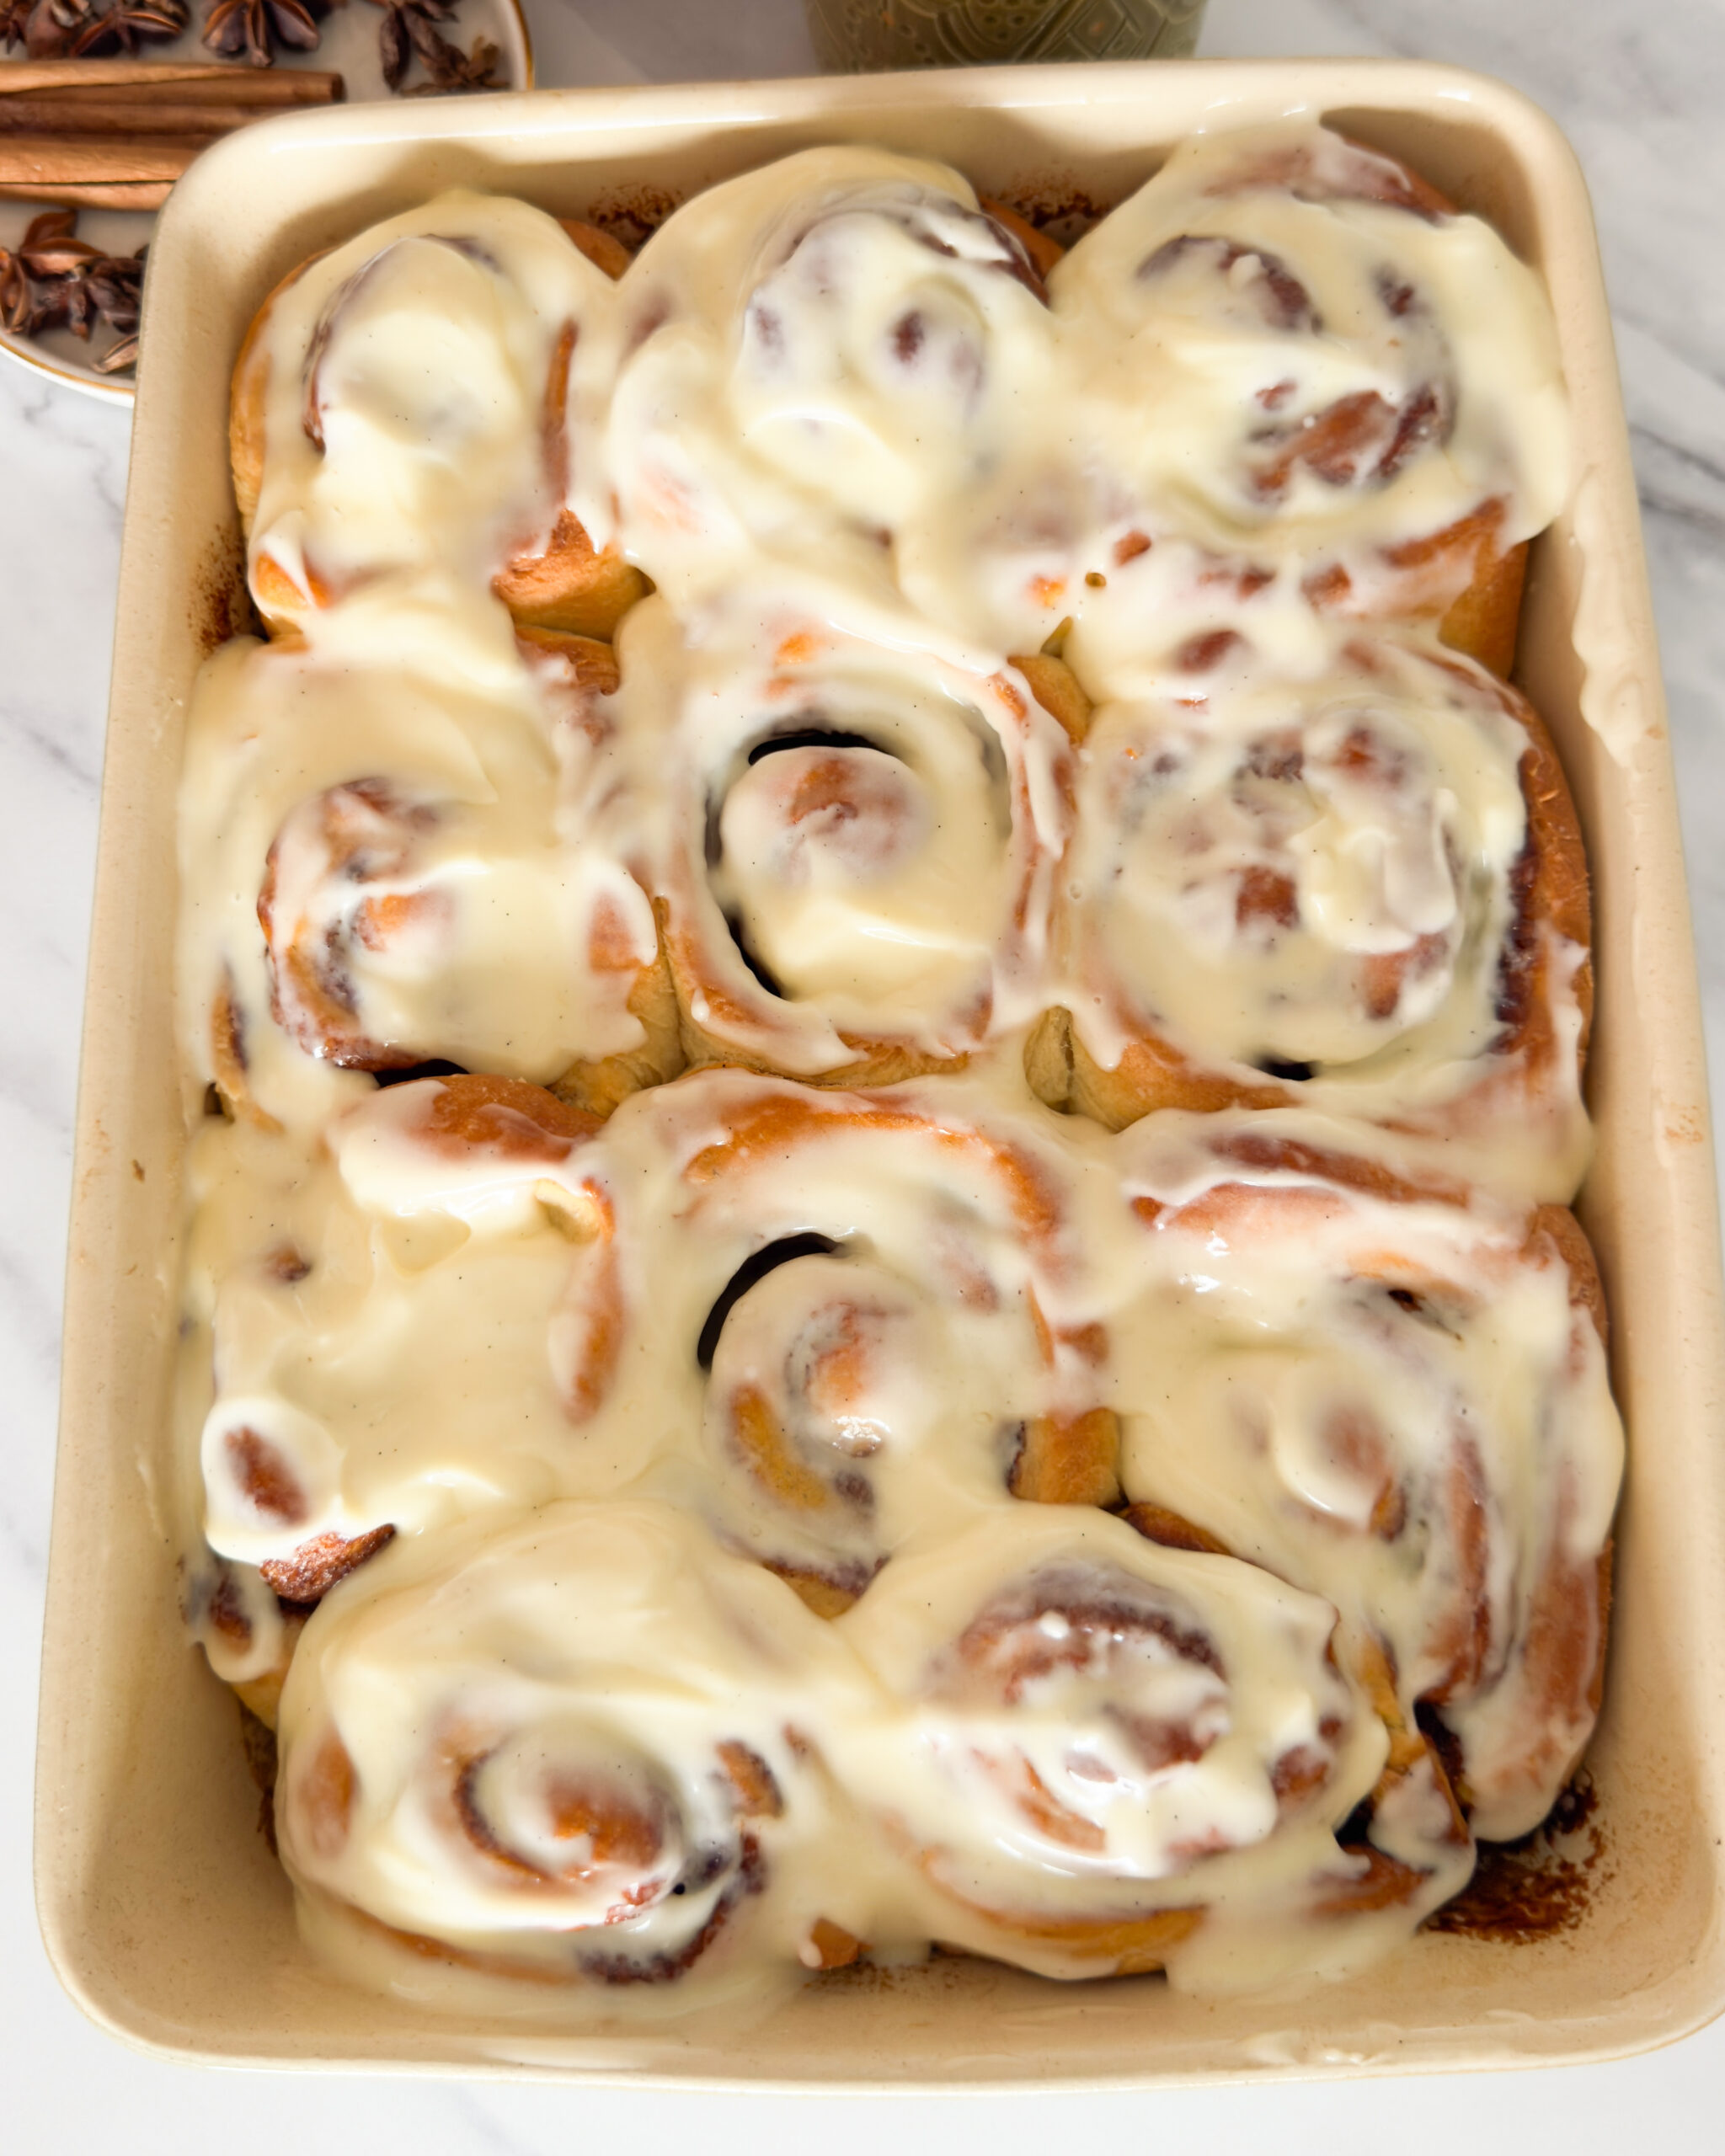
Baked cinnamon rolls in baking dish, topped with cream cheese icing

Right, it’s the end of August, which in my head is the unofficial starting gun for baking season – even though these cinnamon rolls have absolutely no business being seasonal. I make them in January, I make them in July, and August through to December. Soft, pillowy, filled with a brown butter cinnamon swirl and finished with a cream cheese icing that pools into every gap.

I’ve made a LOT of cinnamon rolls over the years, and this is the recipe I keep coming back to. It started as the classic soft roll everyone knows and loves, and after one too many batches where the filling tasted a bit flat, I started browning the butter first. Small change, huge difference – it adds this deep, almost toffee-ish note that makes the whole thing taste more finished. Add a vanilla (or maple) cream cheese icing, and you’ve got something that tastes like it came straight from your favourite bakery.

For this recipe, you won’t need stand mixer or any bread-making background. Just a bit of patience while the dough does its thing.

Why You’ll Love These Cinnamon Rolls

  • The brown butter filling is non-negotiable for me. Once you’ve tried it, you won’t want to go back to a plain softened-butter version. But, if you want to go for the classic version, using plain butter will be totally fine too.
  • The dough stays soft for days. A mix of bread flour and plain flour gives you structure without the chew.
  • You can make these completely ahead. Prep the night before, refrigerate, bake fresh in the morning – no early alarm required.
  • The icing actually soaks in. Spread it on while the rolls are still warm and it melts into every swirl.
  • No fancy kit. A wooden spoon, a bit of kneading, and you’re there.
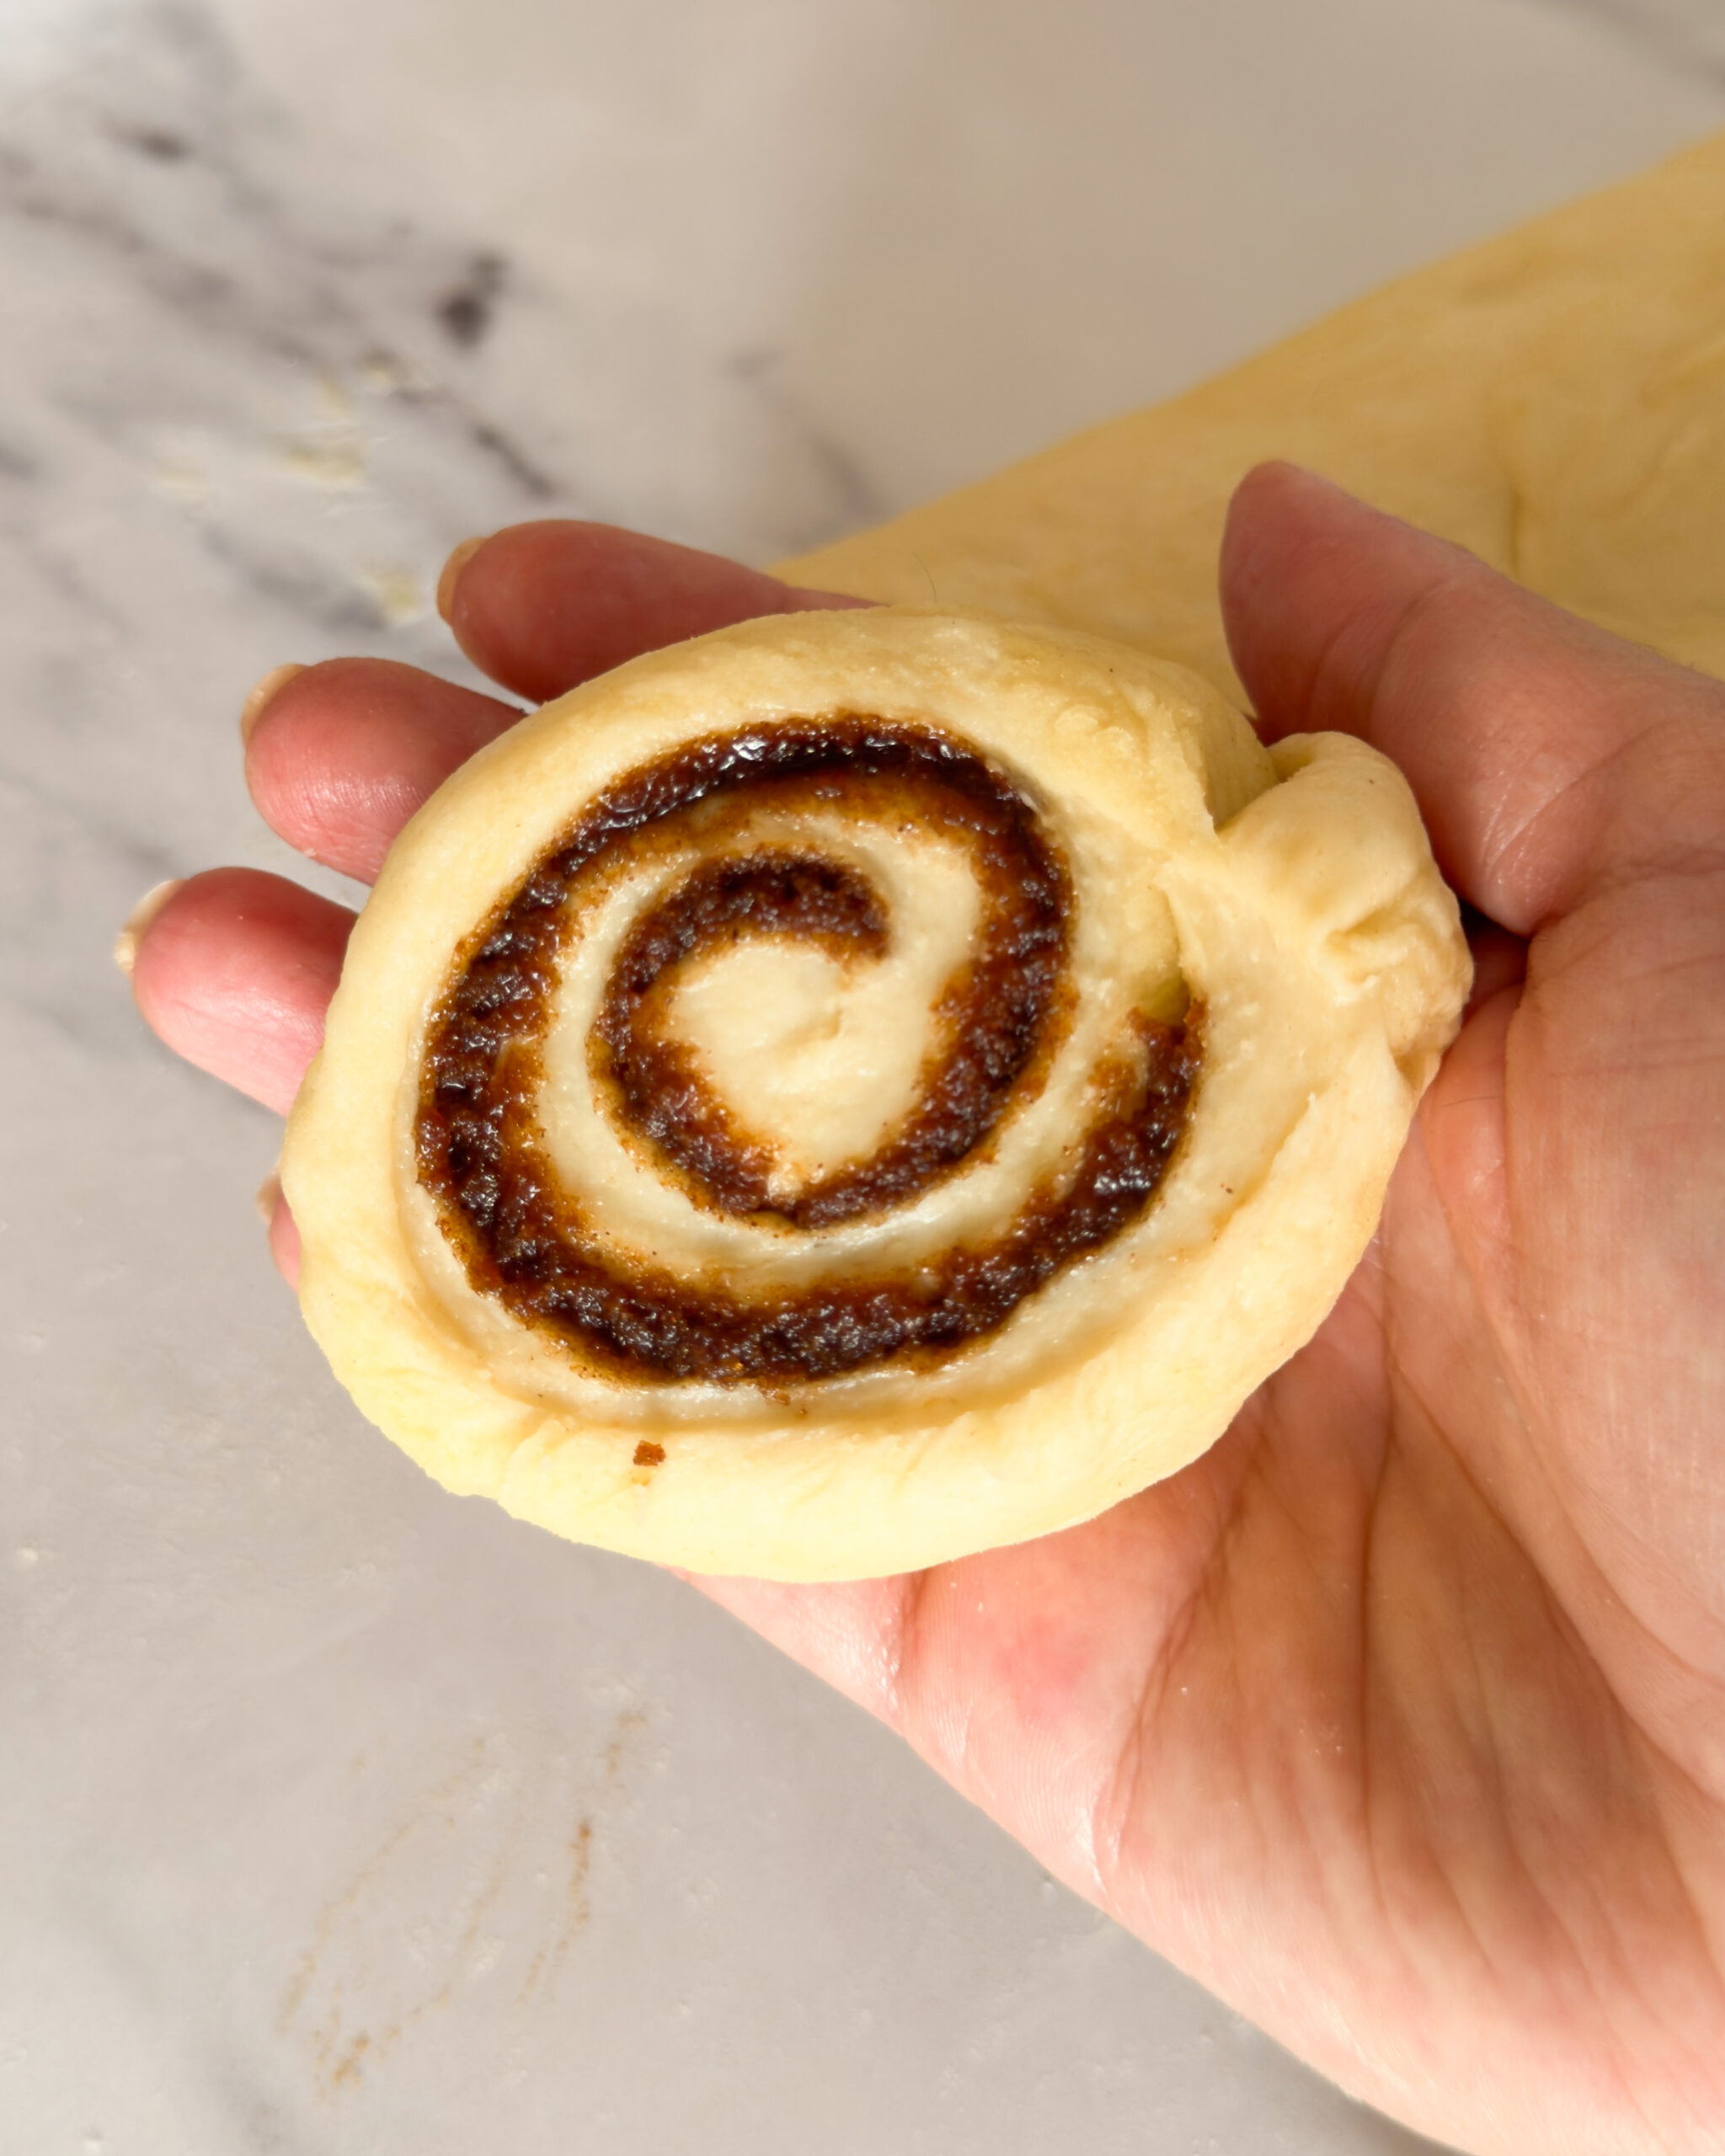
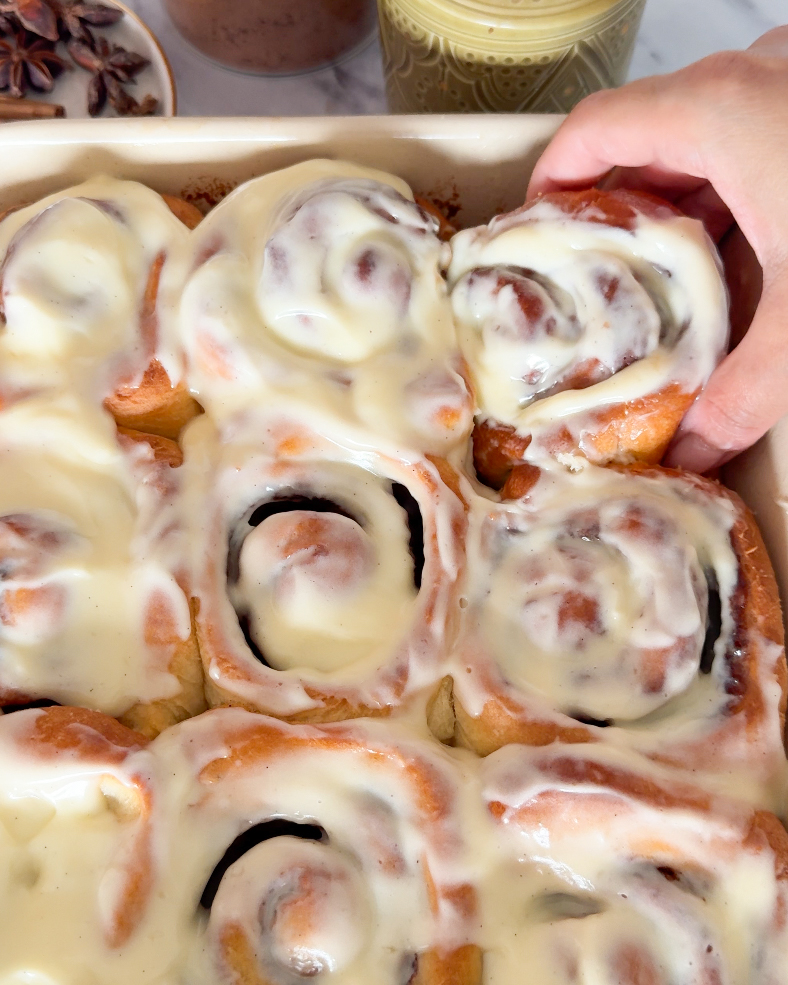
cut cinnamon roll in hand, before baking

What you’ll need

For the dough

  • 240ml whole milk
  • 7g (one sachet) fast-action dried yeast
  • 50g caster sugar
  • 60g unsalted butter, melted and cooled slightly
  • 1 large egg, plus 1 egg yolk, at room temperature
  • 260g strong white bread flour
  • 190g plain flour, plus extra for dusting
  • ½ tsp fine salt


For the filling

  • 75g unsalted butter
  • 150g soft light brown sugar
  • 2 tbsp ground cinnamon
  • Pinch of sea salt


For the cream cheese icing

  • 100g full-fat cream cheese, softened
  • 40g unsalted butter, softened
  • 80g icing sugar, sifted
  • ½ tsp vanilla extract
  • 2 tbsp pure maple syrup (optional – only if you want to go for the maple glaze)
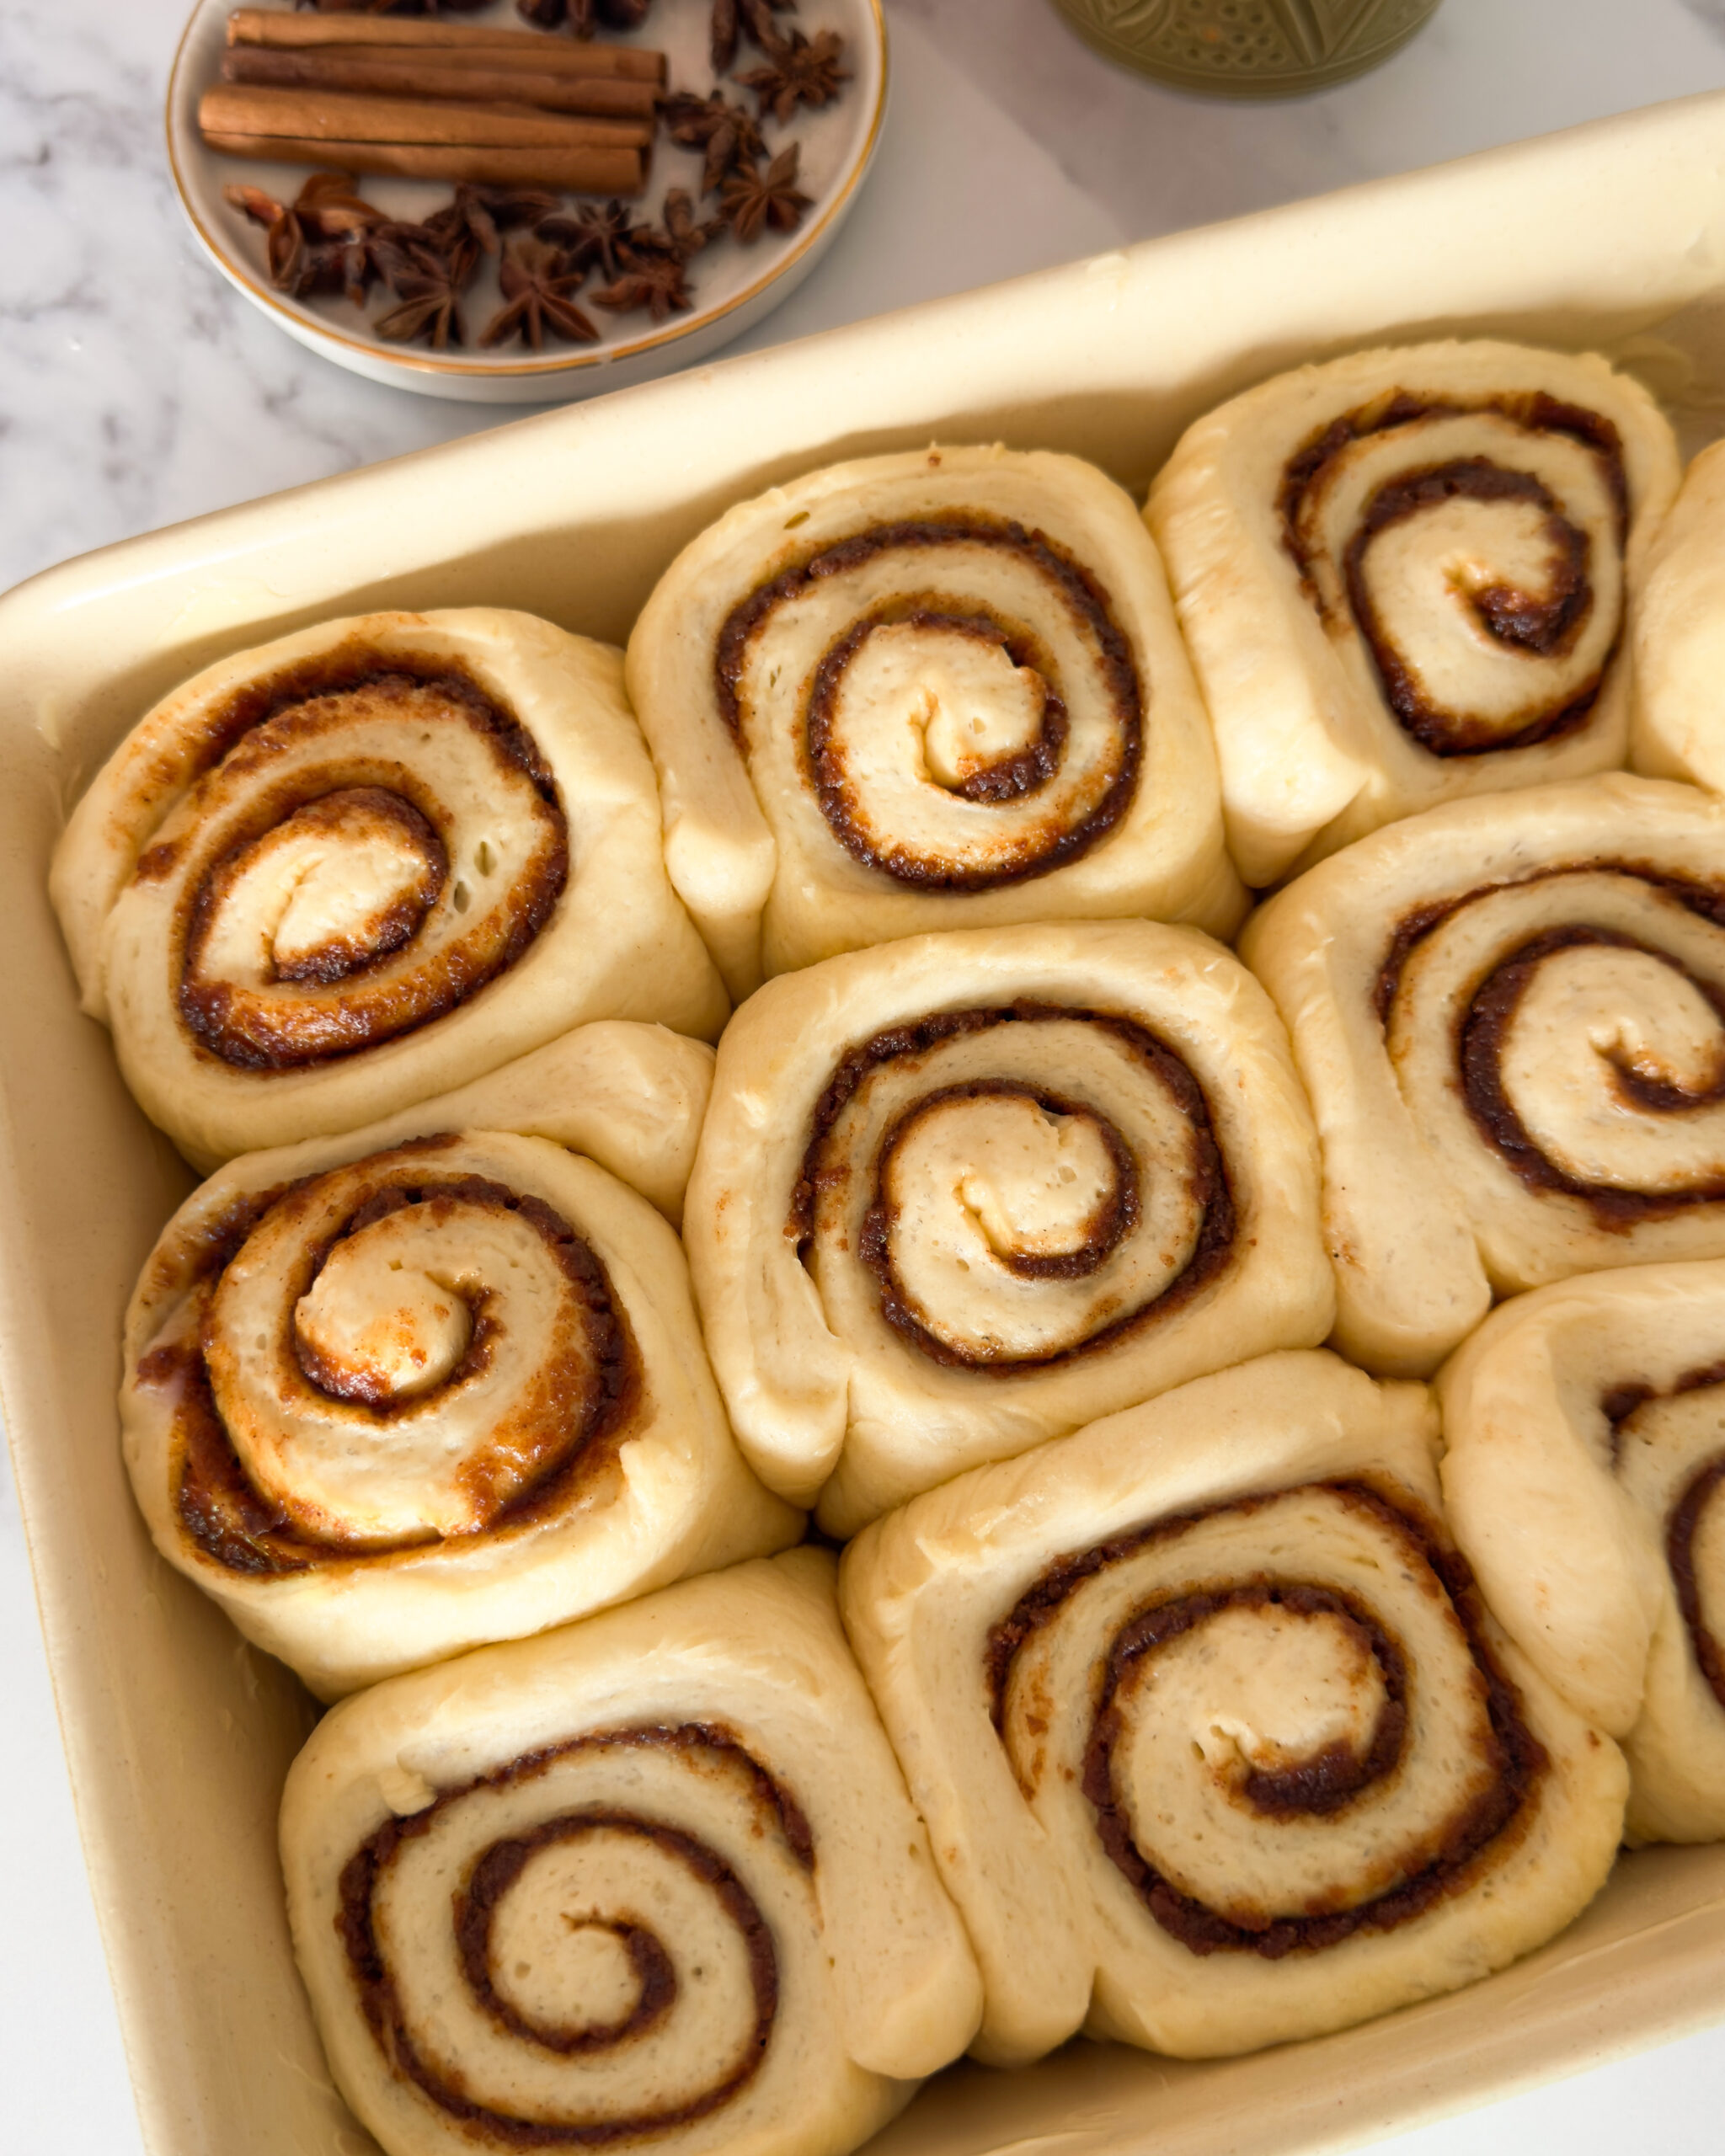
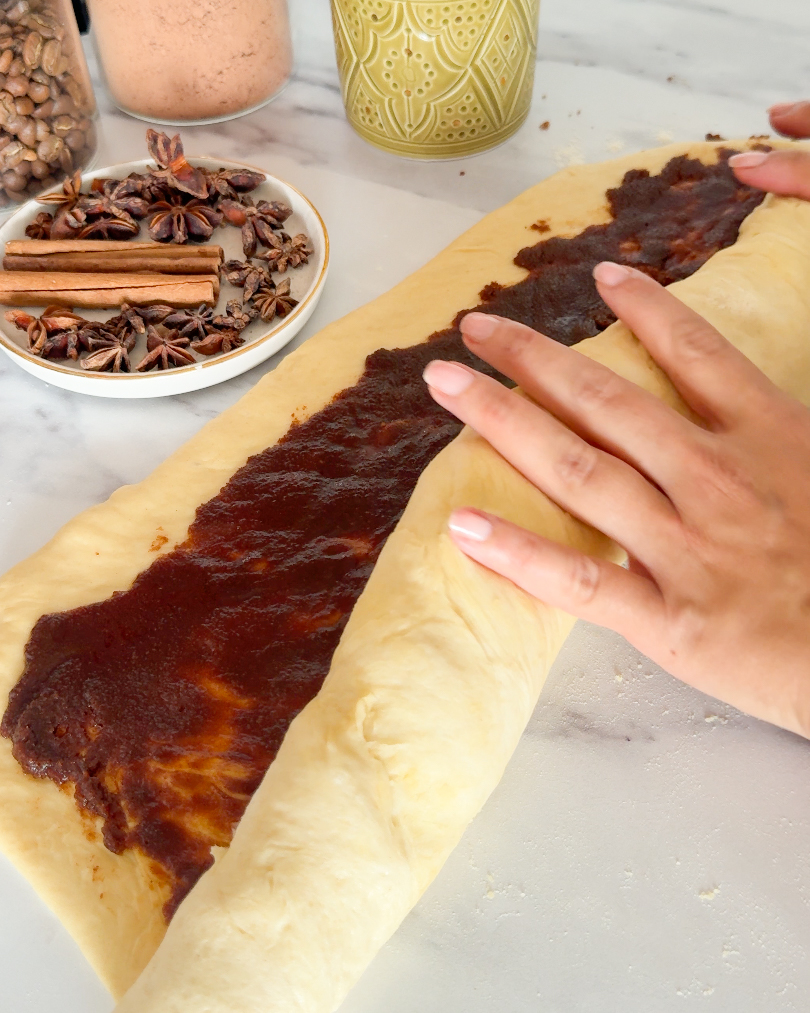
cinnamon rolls in baking dish, before baking hands rolling cinnamon roll dough

A few notes on the ingredients

Milk temperature matters more than people think. You’re aiming for 43-46°C – think warm bath water, not hot bath water. Too hot and you’ll kill the yeast before it’s had a chance to do anything.

Bread flour on its own gives you a chewier roll. Cutting it with plain flour is the move here – you still get enough structure to hold the shape, but the crumb stays soft rather than bread-like.

Brown the butter for the filling. Don’t skip this bit. It takes five extra minutes and it’s the single biggest flavour upgrade in this whole recipe. Just make sure it’s cooled to room temperature before you spread it, or it’ll slide straight through the dough instead of sitting in the swirl.

Room temperature egg and yolk, always. A cold egg can seize the melted butter and throw off the texture of the dough. Twenty minutes on the counter, or a few minutes in a bowl of warm water if you’re in a hurry.

baked cinnamon rolls, covered in vanilla icing

How to make these Cinnamon Rolls

1. Wake up the yeast. Warm the milk to 43-46°C, pour into a large bowl, and stir in the yeast with a teaspoon of the sugar. Leave for 5-10 minutes until it’s foamy on top – that’s how you know it’s alive.

2. Bring the dough together. Stir in the rest of the sugar, the melted butter, the egg and the egg yolk. Add the flours and salt, and mix with a wooden spoon until you’ve got a shaggy dough.

3. Knead. Turn it out onto a floured surface and knead by hand for 8-10 minutes, until smooth and only just tacky. If it’s sticking to your hands more than it should, work in an extra tablespoon of plain flour at a time.

4. First rise. Pop the dough into a lightly oiled bowl, cover with a damp tea towel, and leave somewhere warm for 1-1½ hours, until it’s doubled in size.

5. Brown the butter. While you wait, melt the filling butter in a small pan over medium heat, swirling now and then until it turns golden and smells nutty – about 4-5 minutes. Tip it into a heatproof bowl and let it cool.

6. Roll and fill. Turn the risen dough out and roll into a rectangle roughly 25cm x 35cm. Brush over the browned butter, leaving a 1cm border along one long edge. Mix the brown sugar, cinnamon and salt, scatter it over the butter, and press it in gently so it sticks.

7. Roll and slice. Starting from the long filled edge, roll the dough up tightly into a log and pinch the seam to seal. Trim a thin slice off each end – they never have enough filling anyway – then cut into 9 even rolls using a sharp serrated knife or a length of dental floss.

8. Second rise. Arrange the rolls in a lined 23cm x 23cm tin, cover, and leave for 45 minutes to 1 hour, until they’re puffed up and touching.

9. Bake. Preheat the oven to 180°C (160°C fan). Bake for 22-25 minutes, until golden on top. Don’t overbake these – a few minutes too long and you lose that soft, gooey centre that makes them worth making in the first place.

10. Ice while warm. Beat the cream cheese and butter together until smooth, then add the icing sugar, maple syrup and vanilla and beat until light and fluffy. Spread it generously over the warm rolls and serve immediately – this is not a recipe for waiting around.

Tips for getting these right every time

  • Don’t rush the rises. A cooler kitchen just means a longer wait – resist the urge to speed things up with extra heat, which tends to affect the texture more than it helps.
  • Roll tightly, not aggressively. A firm roll gives you those neat, defined swirls. Force it too hard and the filling squeezes out in the oven.
  • Give the rolls a bit of breathing room in the tin. Packed in too tightly, the centres can end up underdone.
  • Reheat gently. Fifteen seconds in the microwave brings a leftover roll straight back to life – no need to warm the whole tray.

The make-ahead and overnight method

Want these fresh in the morning without setting an alarm at dawn? Get to the end of step 8, cover the tin tightly, and refrigerate overnight – up to 16 hours. The next morning, let the rolls sit at room temperature for 45 minutes to an hour to finish their second rise, then bake as directed.

You can also freeze them after slicing, before the second rise: arrange in the tin, wrap well, and freeze for up to a month. Thaw overnight in the fridge, bring to room temperature, then bake.

Your cinnamon roll questions, answered

Can I use only bread flour instead of the blend? Yes – swap the plain flour for the same weight of bread flour. You’ll get a slightly chewier roll, but it’ll still be good.

Why did the filling leak out while baking? Usually one of two things: the roll wasn’t sealed tightly enough, or the tin was a touch too big and gave the rolls room to spread instead of hold their shape.

Can I make these dairy-free? Yes – a plant-based milk plus dairy-free butter and cream cheese will get you there. The texture stays very close to the original.

How far ahead can I make these? Up to 16 hours with the overnight fridge method, or up to a month if you freeze them before the second rise.

Do I have to make the icing? No – a light dusting of icing sugar works if you want something less rich, though the maple cream cheese version is worth the extra five minutes.

Can I add nuts or raisins? Go for it – 50g of chopped pecans or raisins scattered over the filling in step 6 adds a nice bit of texture.

The Best Cinnamon Rolls You'll Ever Make

The Best Cinnamon Rolls You'll Ever Make

Recipe by Sarah Arnold
0.0 from 0 votes

Soft, fluffy, and unbeatable - these cinnamon rolls are the only recipe you'll need. Make them fresh, overnight, or freeze a batch ahead.

DifficultyEasy
Servings
+
-

9

servings
Baking time

20

minutes
Prep time

2

hours

Ingredients

  • Cinnamon Rolls
  • 190 ml 3/4 cup whole milk (warm)

  • 7 g 1 3/8 tsp fast-action dried yeast

  • 60 g 4 tsp unsalted butter, melted & cooled

  • 50 g 1/4 cup caster sugar

  • 1 large 1 large egg + 1 yolk

  • 365 g 1 1/2 cup strong white bread flour

  • 1/2 tsp 1/2 tsp fine salt

  • Filling
  • 75 g 75 unsalted butter

  • 135 g 135 dark brown sugar

  • 2 tbsp 2 ground cinnamon

  • pinch of pinch sea salt

  • Cream Cheese Icing
  • 100 g 100 full-fat cream cheese

  • 40 g 40 unsalted butter, softened

  • 80 g 80 icing sugar, sifted

  • 1 tsp 1 vanilla extract

Directions

  • Warm the milk to 43-46°C, stir in the yeast and a teaspoon of sugar, and leave for 5-10 minutes until foamy.
  • Mix in the remaining sugar, melted butter, egg and egg yolk. Add the flours and salt and mix to a shaggy dough.
  • Knead for 8-10 minutes until smooth and slightly tacky. (You can also use a stand mixer with dough hook for this step - knead the dough 8-10 minutes). If the ough is too sticky, add 1-3 tablespoons of flour, one at at a time.
  • Cover with clingfilm and a towel and leave to rise for 1-1½ hours, until the dough doubled in size.
  • While the dough is rising, brown the butter for the filling and let it cool.
  • Roll the dough into a 25cm x 35cm rectangle. Brush with browned butter, then scatter with the mixed brown sugar, cinnamon and salt.
  • Roll up tightly from the long edge, trim the ends, and cut into 9 rolls.
  • Arrange in a lined 23cm x 23cm tin, cover, and rise for 45 minutes to 1 hour.
  • Bake at 180°C (160°C fan) for 22-25 minutes until golden.
  • Beat together the icing ingredients and spread over the warm rolls before serving.

Notes

  • Storage: Cover and keep at room temperature for up to a day, or refrigerate in an airtight container for up to 5 days. Reheat individually in the microwave for 15-20 seconds.

Did you enjoy this recipe or have a question? Drop a comment below 🤎

Facebook
Twitter
LinkedIn
Pinterest

Leave a Reply

Your email address will not be published. Required fields are marked *